写真に透かしマークを入れている写真を見かけますが、写真の無断転用を防ぐために入れるそうです。
ただ、エディターで1枚1枚編集するのは手間が掛かる物です。
アップロード時に自動で透かしを入れられるプラグイン「Easy Watermark」をご紹介します。
Easy Watermarkは、アップロード時に自動に文字や画像の透かしを入れることが出来ます。また、アップロード済み画像にも透かしを入れられます。
執筆時点、インストール数:40,000以上、最終更新:1か月前
透かしを英語に訳すとWatermarkになります。
- 画像の透かしには、JPG、PNG、またはGIFを使用できます。
- テキストの色、サイズ、回転を設定できます。
- イメージをバックアップし、イメージを簡単に復元できます。
- JPGおよびGIFファイルとテキストに不透明度を設定できます。
「Easy Watermark」を入力します。

「今すぐインストール」をクリックします。

「有効化」をクリックします。

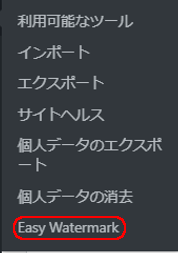
ダッシュボード>ツール>Easy Watermarkをクリックします。
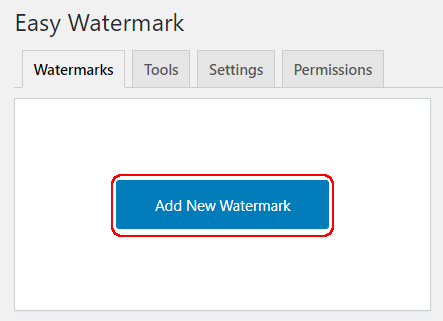
「Add New Watermark」をクリックします。
「Add New Watermark」の名前を入力し、「image」をクリックします。
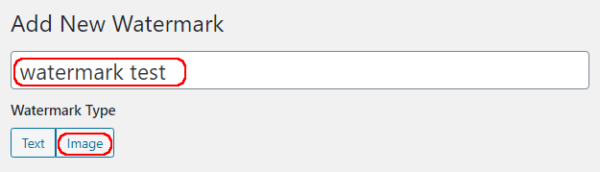
Add New Watermark:分かり易い名前
image:画像のウォーターマーク
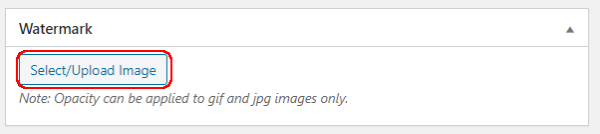
1.「select/Upload Image」をクリックします。
2.ウォーターマークの画像を選択します。
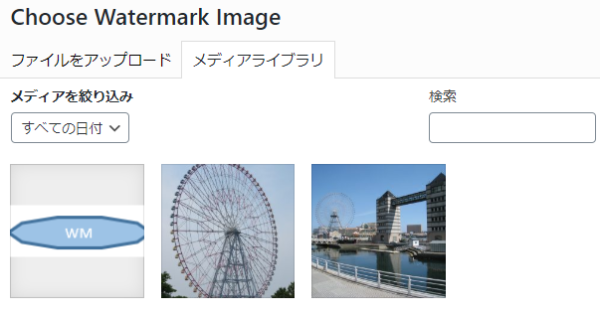
3.「Set as Watermark Image」をクリックします。
4.Opacityを入力します。
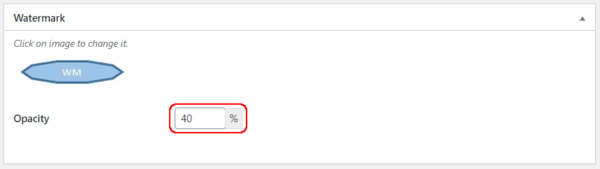
Opacity:不透明度(100%へ行くほど不透明になります。)
不透明度はPNG画像には適用されません。
透かしの位置「左、中央、右、上、中央、下 」 を選択します。
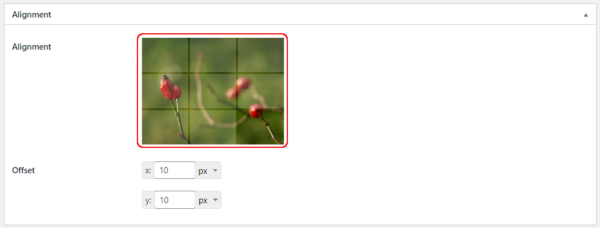
Offiset:水平および垂直オフセットを設定します。
Scaling Mode「None、Fill、Fit、Fit to Width、Fit to Height」を選択し、Scaleで透かし画像の大きさを調整します。
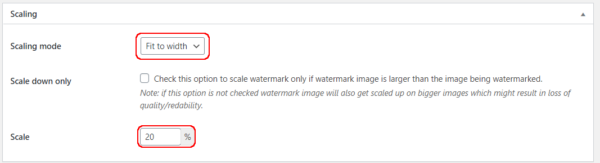
<Scaling Mode>
None:透かし無し。
Fill:透かしは画像全体を埋めます。
Fit :透かしの幅または高さは、すべて見えるように画像の幅または高さに調整されます。
Fit to Width :透かしの幅は常に画像の幅に調整されます。
Fit to Height:透かしの高さは常に画像の高さに調整されます。
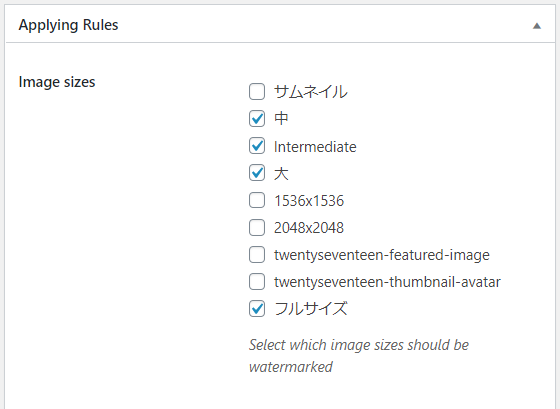
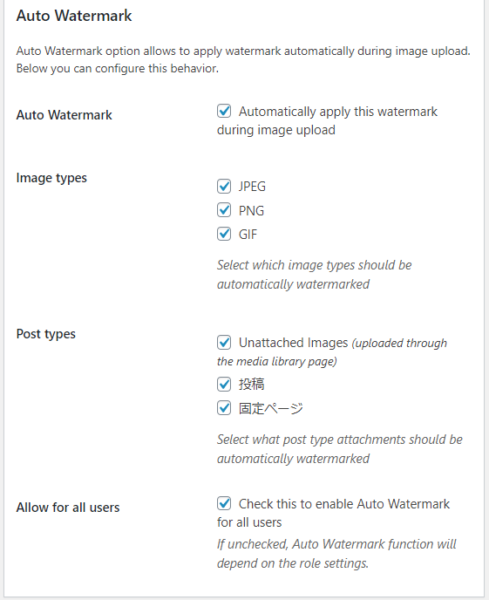
Image sizes:
透かしを入れる画像サイズを選択します。
Auto Watermark:
自動透かしオプションを使用すると、画像のアップロード中に自動的に透かしを適用できます。
Image types:
自動的に透かしを入れる画像タイプを選択します。
Allow for all users:
すべてのユーザーに対して自動透かしを有効にします。
「保存」をクリックします。
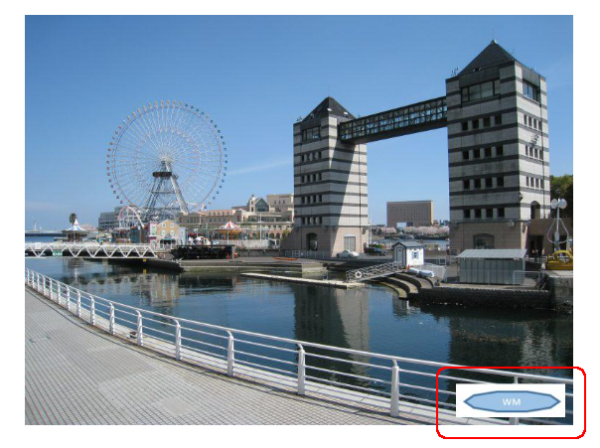
不透明度 100%
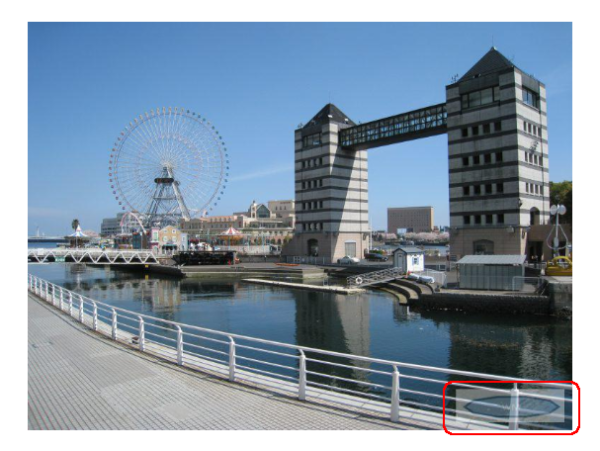
不透明度 40%
大事な写真を守るための一つの手段になります。設定をすれば後は手間もかからないです。
JPEG/PNG/GIFの画像に透かしを入れられる。
アップロード時に自動に文字や画像の透かしを入れられます。
アップロード済み画像にも一括または、選択して入れられます。