
XSERVERでは、ads.txt設定画面が設けてあり、ads.txtをFTPでアップロードせずに設定可能です。
広告枠の透明性を図り、広告の不正を防止する。
関連記事「AdSenseのads.txtファイル問題を解決」をご覧ください。
 AdSenseのads.txtファイル問題を解決
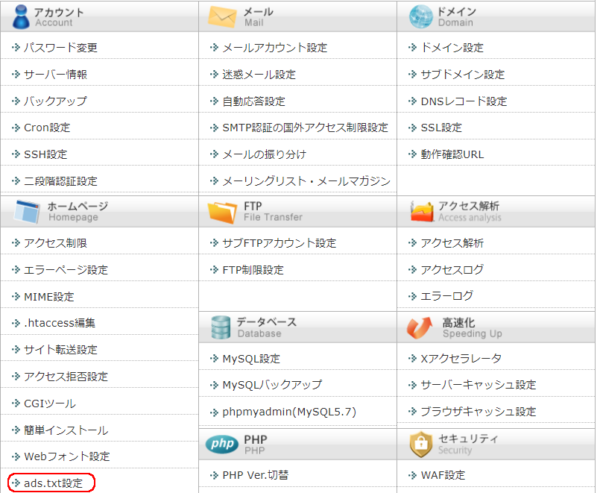
サーバーパネル
サーバー管理>サーバーパネル>ads.txtをクリックします。
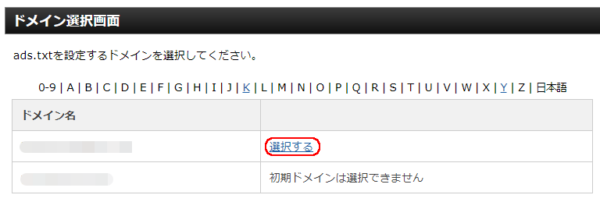
ドメイン選択
ドメイン名の「選択する」をクリックします。
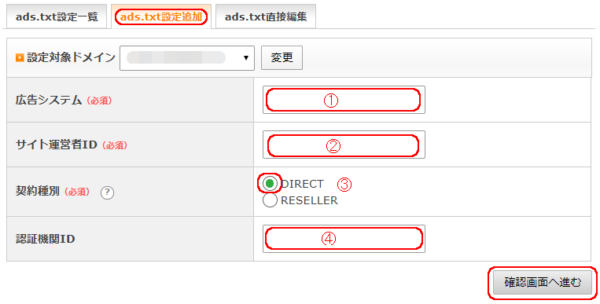
ads.txt設定
「ads.txt設定追加」タブで、広告システム、サイト運営者ID、契約種別、認識機関IDを入力し、「確認画面へ進む」をクリックします。

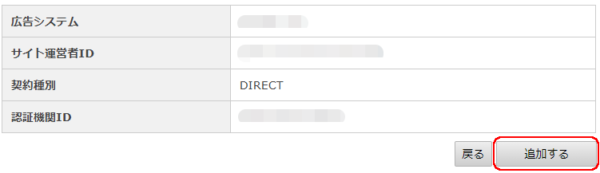
設定確認
「追加する」をクリックします。
完了